In the realm of coffee enthusiasts, the coffee grinder reigns supreme, transforming whole coffee beans into the finely ground particles that brew into a rich and flavorful cup. Each rotation of the burrs releases the beans’ hidden essence, promising an aromatic and delectable coffee experience. However, like any faithful appliance, your coffee grinder demands a bit of TLC to maintain its peak performance and ensure years of brewing bliss. Regular cleaning is the cornerstone of this maintenance, preventing the buildup of coffee oils and residue that can hinder your grinder’s efficiency and, over time, potentially damage its delicate mechanisms.
I. Introduction
A. The significance of regular coffee grinder cleaning
Regular cleaning of your coffee grinder is not merely a chore; it’s an investment in the quality of your coffee and the longevity of your machine. Coffee oils, released from the beans during grinding, tend to cling to the burrs, hopper, and chute of your grinder. Over time, this buildup can lead to a noticeable decline in your coffee’s flavor. The oils can impart a stale or rancid taste, masking the delicate nuances of the beans you’ve carefully selected. Moreover, neglected coffee grinders are more susceptible to mechanical issues. Coffee residue can clog the burrs, affecting their ability to grind evenly, resulting in inconsistent extractions and subpar coffee. In extreme cases, buildup can even lead to motor strain and potential damage to the grinder’s internal components.
B. The detrimental effects of neglecting coffee grinder cleaning
The consequences of neglecting coffee grinder cleaning extend far beyond a slight dip in flavor. Here’s a glimpse into the potential pitfalls of a grimy grinder:
-
Flavor Degradation: Coffee oils, when left to accumulate, can turn rancid, imparting an unpleasant taste to your coffee.
-
Uneven Grinding: Clogged burrs can lead to inconsistent grinding, resulting in under or over-extracted coffee.
-
Mechanical Issues: Coffee residue can strain the motor and damage internal components.
-
Unpleasant Odors: A neglected grinder can become a source of unpleasant odors, affecting the overall ambiance of your coffee-making space.
-
Reduced Lifespan: Without regular cleaning, your coffee grinder’s lifespan will be significantly shortened.
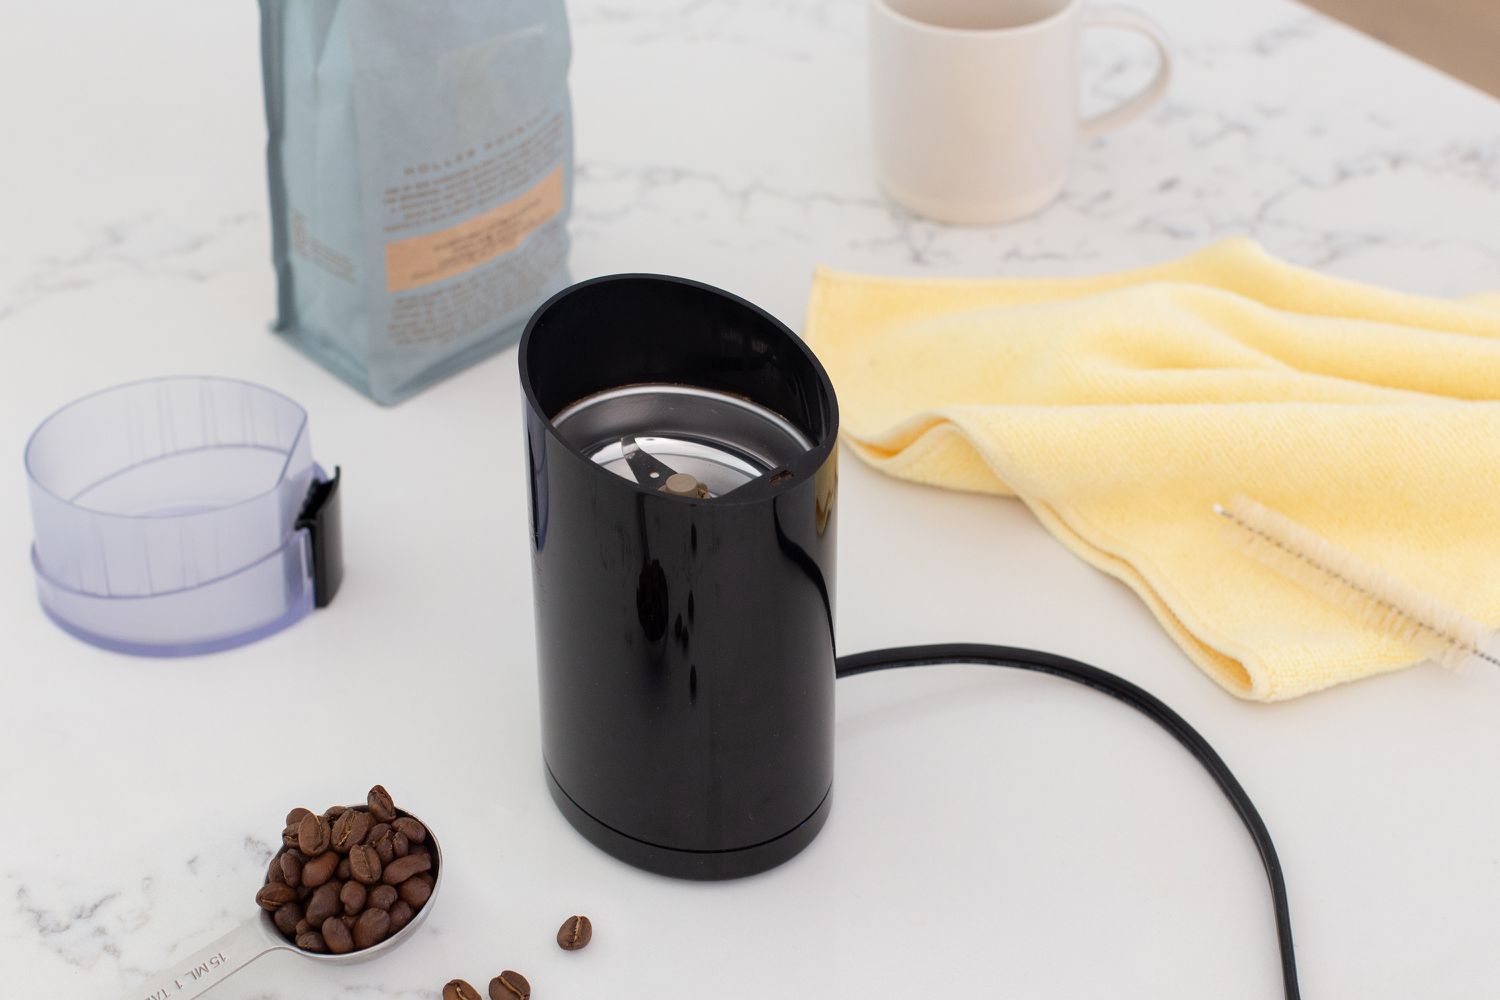
II. Gathering Cleaning Supplies
Before embarking on your coffee grinder cleaning mission, it’s crucial to assemble the necessary tools and cleaning agents. Here’s a checklist to ensure you have everything you need:
A. Essential cleaning tools: Brush, cloth, vacuum cleaner (optional)
-
Brush: A dedicated coffee grinder brush is ideal for removing coffee grounds and residue from the burrs and other nooks and crannies.
-
Cloth: A soft, lint-free cloth will come in handy for wiping down the exterior of your grinder and removing any remaining dust or debris.
-
Vacuum cleaner (optional): A handheld vacuum cleaner can be a useful tool for quickly removing loose coffee grounds from the grinder’s hopper and chute.
B. Cleaning agents: Rice, grinder cleaning tablets (optional)
-
Rice: Uncooked rice is a natural and effective way to absorb coffee oils and residue from the grinder’s interior.
-
Grinder cleaning tablets: These specialized tablets are designed to break down stubborn coffee buildup and freshen the grinder.
III. Cleaning a Blade Grinder
Blade grinders, with their simple design, are relatively easy to clean. Follow these steps to restore your blade grinder to its former glory:
A. Unplugging the grinder and removing the hopper
-
Safety First: Before you begin, always unplug your coffee grinder to prevent any electrical hazards.
-
Removing the Hopper: Detach the hopper, the container that holds the coffee beans, from the top of the grinder.
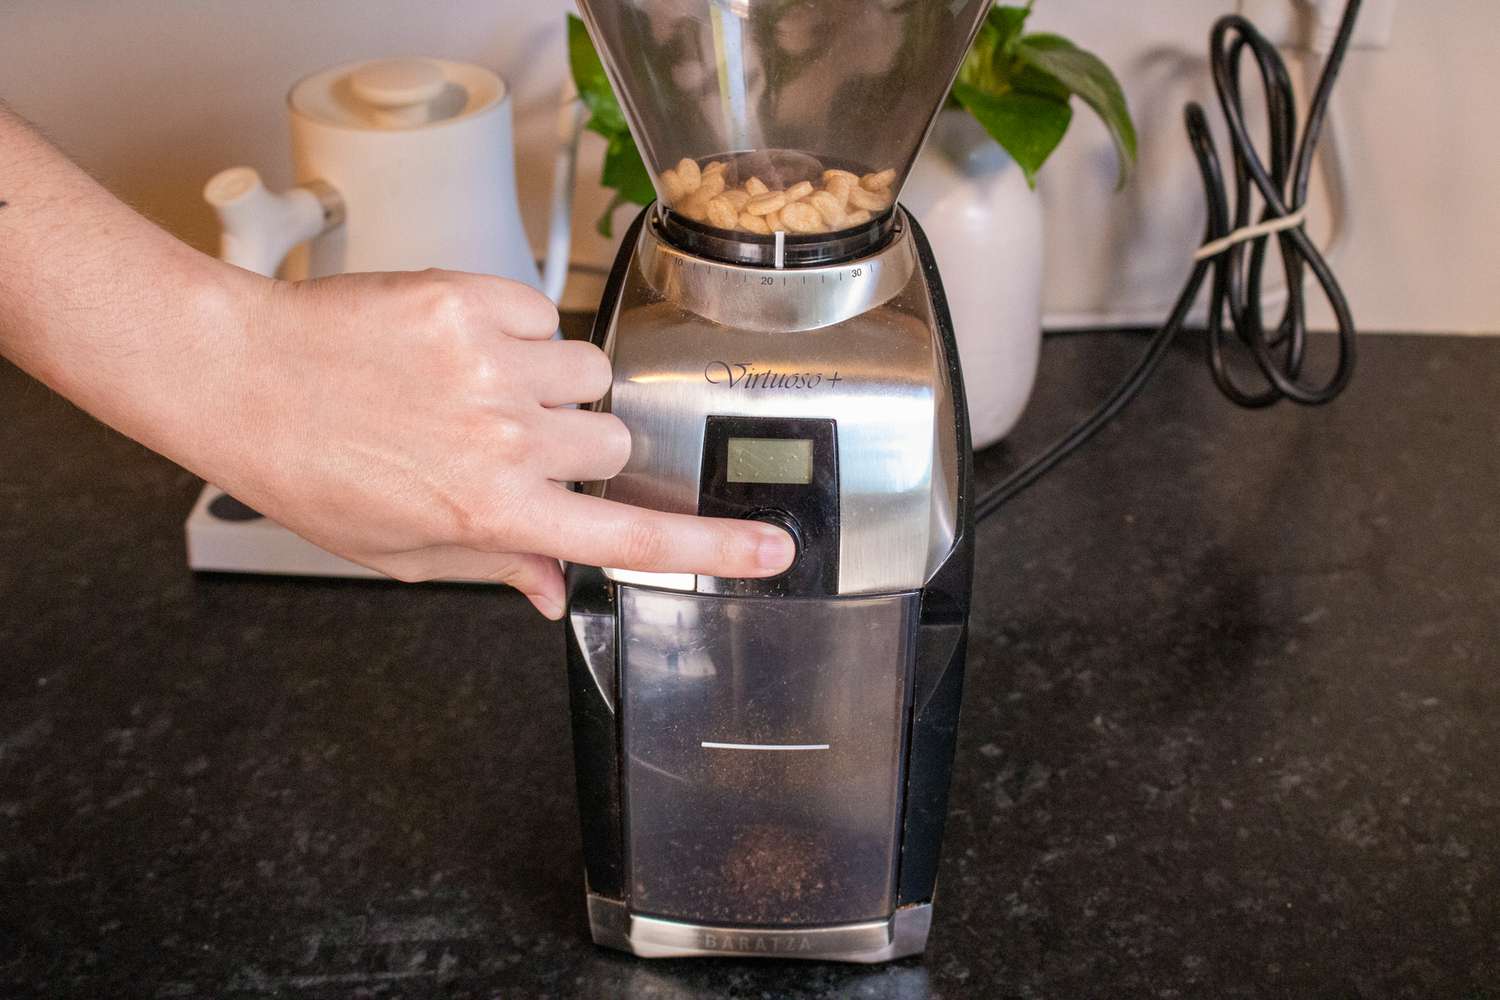
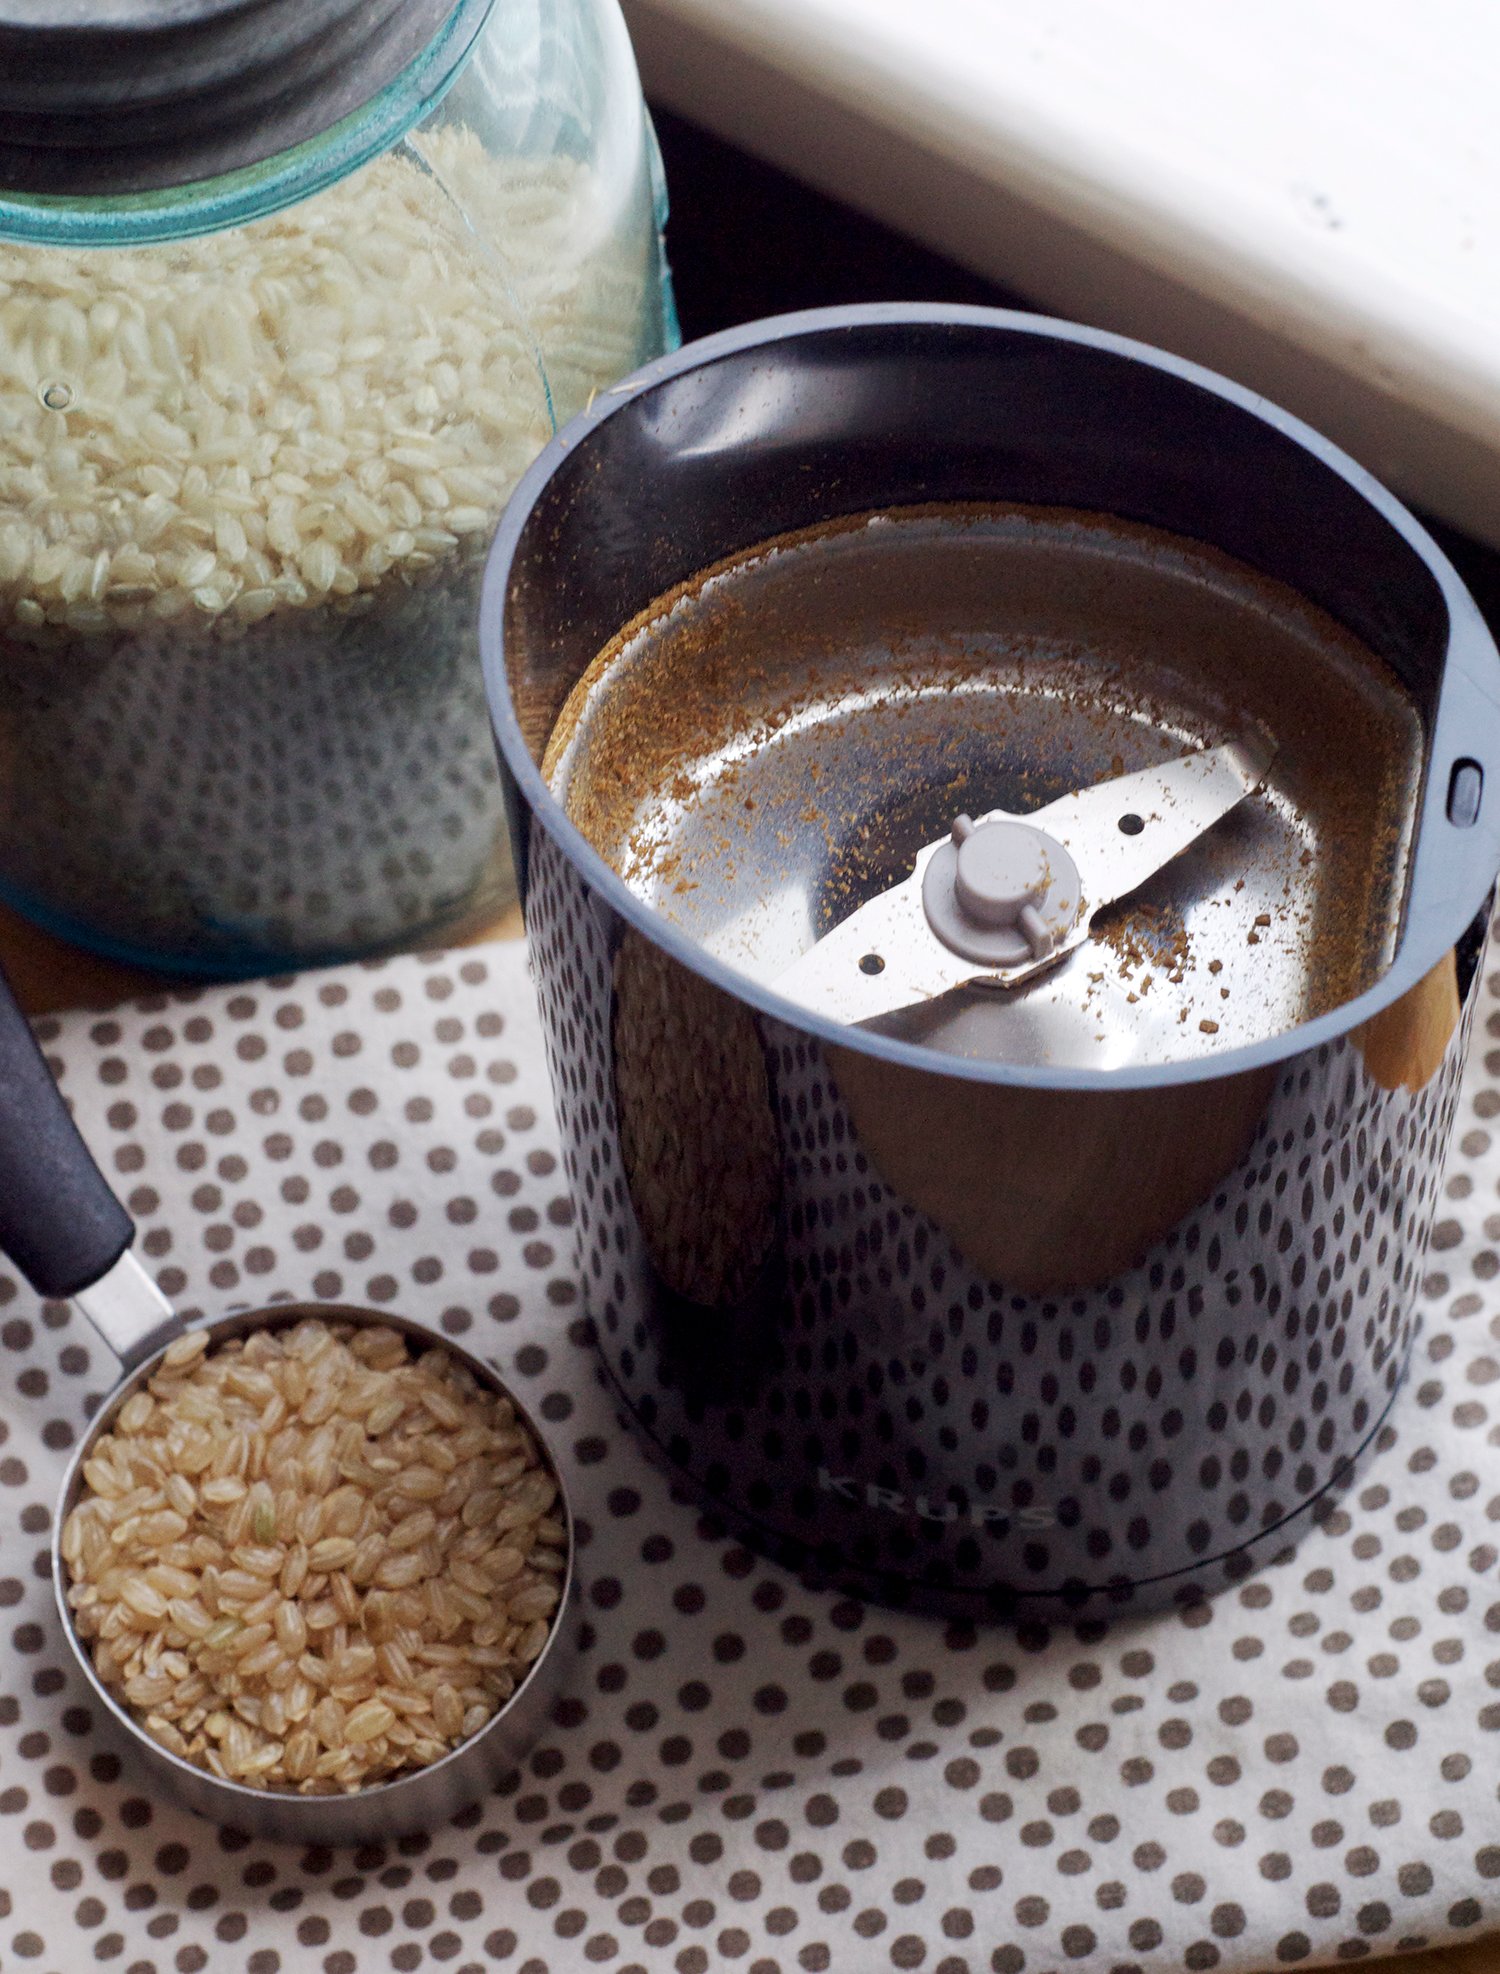
B. Grinding rice to remove coffee oils and residue
-
Rice to the Rescue: Pour a handful of uncooked rice into the empty grinder chamber.
-
Grind and Cleanse: Grind the rice as you would normally grind coffee beans. The rice will absorb coffee oils and residue, effectively cleaning the grinder’s interior.
-
Discard and Repeat: Discard the ground rice and repeat the process until the rice emerges clean and free of any discoloration.
C. Wiping down the interior and exterior of the grinder
-
Brush Away Debris: Use a dedicated coffee grinder brush to remove any remaining coffee grounds or residue from the grinder chamber and blades.
-
Damp Cloth Cleanup: Dampen a lint-free cloth with warm water and gently wipe down the interior of the grinder, including the blades and hopper area.
-
Exterior Shine: Wipe down the exterior of the grinder with a clean, dry cloth to remove any dust or fingerprints.
-
D. Reattaching the hopper and plugging in the grinder (cont.)
-
Once the grinder’s interior and exterior are clean and dry, reattach the hopper securely.
-
Finally, plug the grinder back in and it’s ready for use with your freshly cleaned blades!
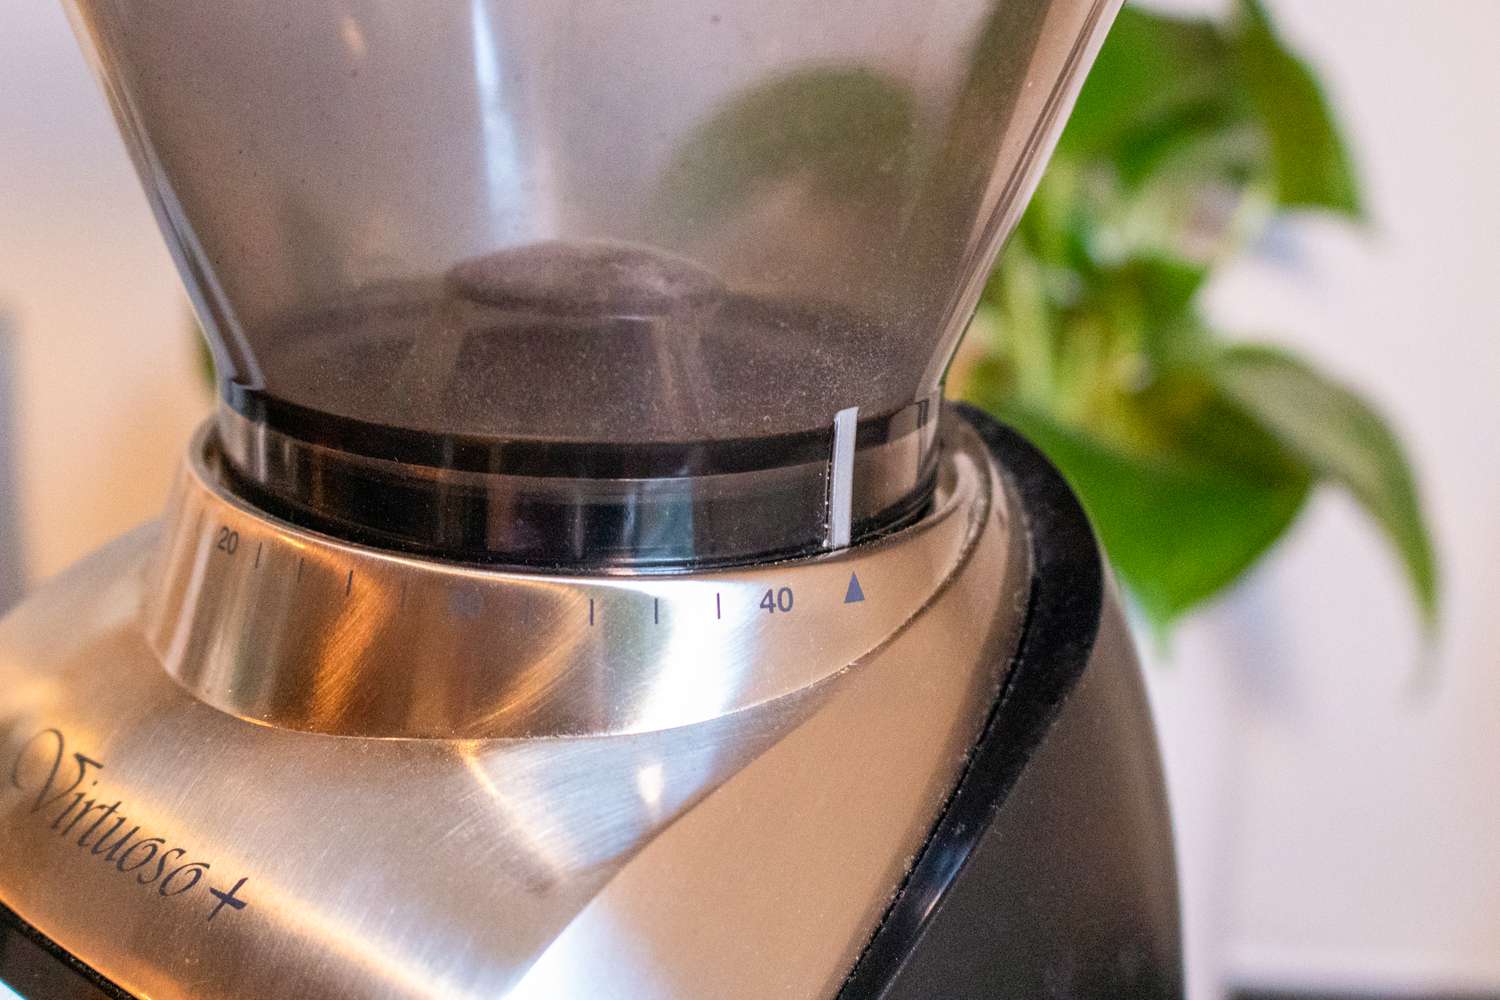
IV. Cleaning a Burr Grinder
Burr grinders, known for their superior grind consistency, require a slightly more involved cleaning process. Here’s a breakdown of the steps to keep your burr grinder functioning at its best:
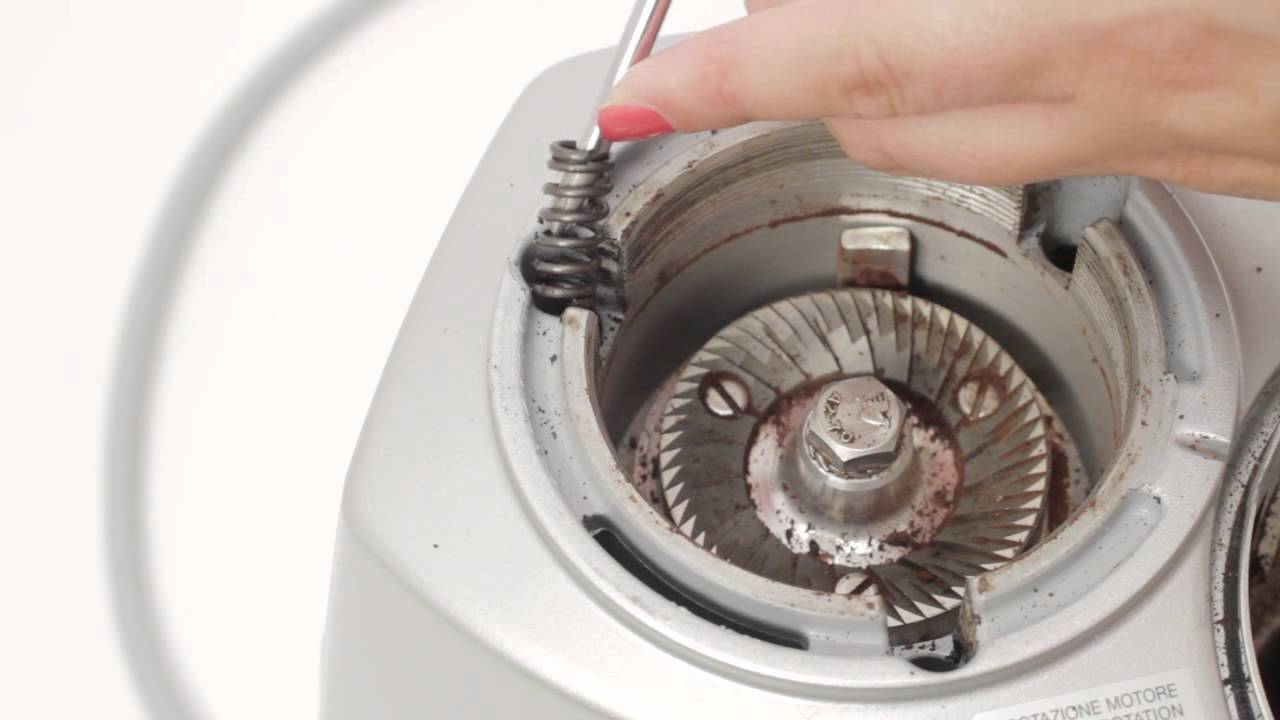
A. Removing the hopper and upper burr
-
Consult the Manual: Refer to your grinder’s manual for specific instructions on removing the hopper and upper burr. Different models may have slight variations in the process.
-
Hopper Detachment: Typically, the hopper detaches by twisting or lifting a latch.
-
Upper Burr Removal: Removing the upper burr might involve unscrewing a central bolt or using a specialized tool provided by the manufacturer.
B. Brushing the burrs to remove coffee grounds
-
Brushing Magic: Use a dedicated coffee grinder brush to gently remove any loose coffee grounds from the burrs. Avoid using water or cleaning agents directly on the burrs, as this can damage them.
-
Compressed Air (Optional): If available, a burst of compressed air can help dislodge stubborn coffee grounds trapped between the burrs.
C. Cleaning the hopper, chute, and exterior of the grinder
-
Hopper Hygiene: Wash the hopper with warm, soapy water and a soft sponge. Rinse thoroughly and dry completely before reattaching it.
-
Chute Cleanliness: Use a damp cloth or a long, thin brush to clean the coffee chute, the pathway where the ground coffee travels from the burrs to the collection container.
-
Exterior Elegance: Wipe down the exterior of the grinder with a clean, dry cloth to remove any dust or fingerprints.
D. Reattaching the hopper and upper burr
-
Reverse the Process: Carefully reattach the upper burr and the hopper, following the instructions in your grinder’s manual.
-
Secure Connection: Ensure all parts are securely fastened to prevent any malfunction during operation.
V. Additional Cleaning Tips
A. Regular deep cleaning: Schedule a thorough cleaning every 1-2 months
While the methods described above address basic cleaning, a more in-depth cleaning is recommended every 1-2 months, depending on how frequently you use your grinder. This deep cleaning might involve using grinder cleaning tablets or disassembling certain parts for a more meticulous scrub.
B. Daily maintenance: Wipe down the grinder exterior after each use
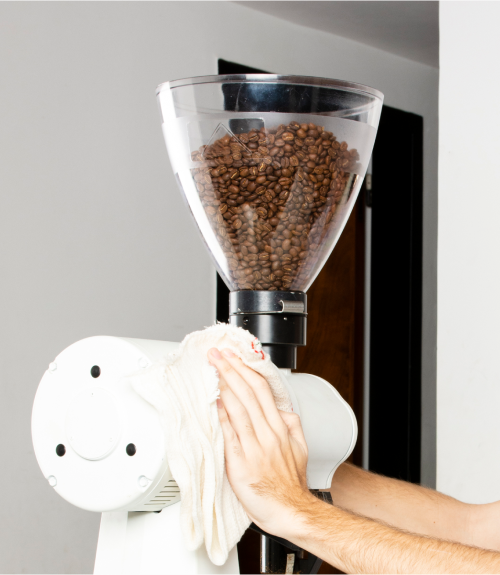
Developing a quick daily cleaning routine can significantly impact your grinder’s cleanliness. Simply wiping down the exterior of your grinder with a dry cloth after each use helps remove any coffee dust or residue that might accumulate over time.
C. Addressing specific issues: Tackling stubborn residue or mold growth
If you encounter stubborn coffee residue or even mold growth (a rare occurrence but possible in neglected grinders), you might need to employ stronger cleaning methods. Consult your grinder’s manual for specific recommendations, and consider using a specialized grinder cleaning solution for particularly challenging cases.
VI. Troubleshooting Common Cleaning Issues
A. Difficulty removing burrs: Using a wrench or socket set if necessary
Removing the upper burr, especially in some models, might require tools like a wrench or socket set. Refer to your grinder’s manual for specific instructions and avoid using excessive force to prevent damage.
B. Persistent residue: Repeating the cleaning process or using a stronger cleaning agent
If the initial cleaning doesn’t completely remove all the coffee residue, you can repeat the process, using fresh rice or a stronger cleaning agent if your grinder’s manual allows it.
C. Unpleasant odors: Airing out the grinder and using a deodorizing agent
If your grinder emits an unpleasant odor, even after cleaning, try airing it out for a few hours. For stubborn odors, consider using a natural deodorizer like baking soda placed inside the hopper for a few days.
VII. Safety Precautions
A. Unplugging the grinder before cleaning
Always unplug your coffee grinder before cleaning to prevent any accidental activation or electrical hazards.
B. Avoiding water on burrs: Use a damp cloth or brush instead
Water can damage the burrs of your grinder. Opt for a damp cloth or a dedicated brush for cleaning the burrs and surrounding areas.
C. Handling burrs with care: They can be sharp and delicate
Burrs can be sharp, so handle them with care during cleaning to avoid injury. Consult your grinder’s manual for specific instructions on handling and cleaning the burrs.
-