For coffee enthusiasts, the pursuit of the perfect cup of coffee often begins with freshly ground beans. While commercial grinders offer convenience, DIY coffee grinders provide a unique sense of control, satisfaction, and connection to the coffee-making process. This comprehensive guide delves into the world of DIY coffee grinders, providing an outline and instructions for crafting your own coffee-grinding machine.
I. Introduction: Unveiling the Allure of DIY Coffee Grinders
The allure of freshly ground coffee lies in the enhanced flavor and aroma that accompany beans ground just before brewing. Freshly ground coffee releases its volatile compounds, creating a richer and more nuanced flavor profile compared to pre-ground beans that have lost their delicate aromas.
DIY coffee grinders offer a unique appeal to coffee enthusiasts. They provide a level of control and personalization that commercial grinders often lack. By crafting your own grinder, you can tailor the grind size to your preferred brewing method, ensuring optimal extraction and flavor. Additionally, the process of building your own grinder fosters a deeper appreciation for the coffee-making process and the connection between the bean and the cup.
II. Types of DIY Coffee Grinders: Exploring the Options
The world of DIY coffee grinders encompasses a variety of designs, each with its own advantages and limitations. Understanding the different types of grinders will help you make an informed decision about which one is right for you.
A. Hand Crank Grinders:
Hand crank grinders are the epitome of traditional coffee grinding. They are compact, portable, and require no external power source, making them ideal for camping or traveling. However, manual grinding can be time-consuming and may not be suitable for those with limited hand strength.
B. Electric Grinders:
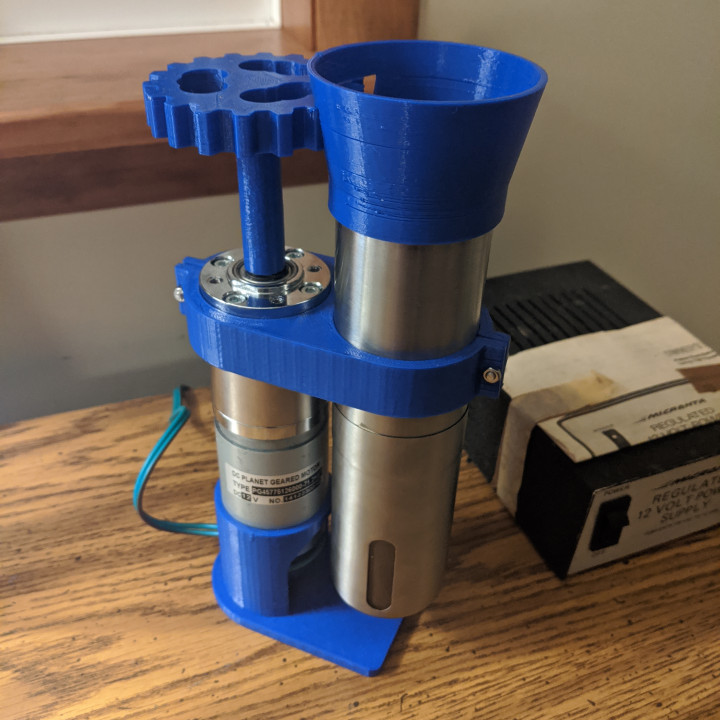
Electric grinders offer the convenience of power-assisted grinding, significantly reducing the time and effort required. They are typically more expensive than hand crank grinders but provide faster and more consistent grinding.
C. Burr Grinders:
Burr grinders employ two opposing burrs to crush and grind the coffee beans, producing a more consistent and uniform grind compared to blade grinders. This consistency is crucial for achieving optimal extraction and flavor, especially for espresso and pour-over brewing methods.
D. Blade Grinders:
Blade grinders utilize a rotating blade to chop the coffee beans. They are simpler to construct and often less expensive than burr grinders. However, blade grinders can produce less consistent grinds, potentially leading to uneven extraction and suboptimal flavor.
III. Essential Components: Gathering the Necessary Materials
Before embarking on your DIY coffee grinder journey, it’s essential to gather the necessary components. These include:
A. Grinding Mechanism:
The heart of the grinder, the grinding mechanism is responsible for crushing and grinding the coffee beans. Burr grinders typically use two opposing burrs, while blade grinders employ a rotating blade.
B. Housing:
The housing provides a structure to enclose the grinding mechanism and offer support. It can be made from various materials, such as wood, metal, or plastic.
C. Adjustment Mechanism:
The adjustment mechanism allows you to control the grind size, ensuring precise adjustments for different brewing methods. It can be a simple screw mechanism or a more complex gear system.
D. Collecting Container:
The collecting container captures the ground coffee for easy use. It should be made from a material that is food-safe and durable.
IV. Choosing a Grinding Mechanism: Burr vs. Blade
The choice between a burr grinder and a blade grinder is a crucial decision that will impact the quality of your coffee.
A. Burr Grinders:
Burr grinders are the preferred choice for serious coffee enthusiasts due to their ability to produce a consistent and uniform grind. This consistency is essential for achieving optimal extraction and flavor, especially for espresso and pour-over brewing methods.
B. Blade Grinders:
Blade grinders are simpler to construct and often less expensive than burr grinders. However, they can produce less consistent grinds, potentially leading to uneven extraction and suboptimal flavor. Blade grinders may be suitable for casual coffee drinkers or those who primarily use French press or drip coffee brewing methods.
V. Sourcing Components: Finding the Right Parts
With the components in mind, the next step is to source the necessary parts.
A. Online Retailers:
Online retailers offer a vast array of components for DIY coffee grinders, including grinding mechanisms, housings, adjustment mechanisms, and collecting containers.
B. Salvage Yards and Thrift Stores:
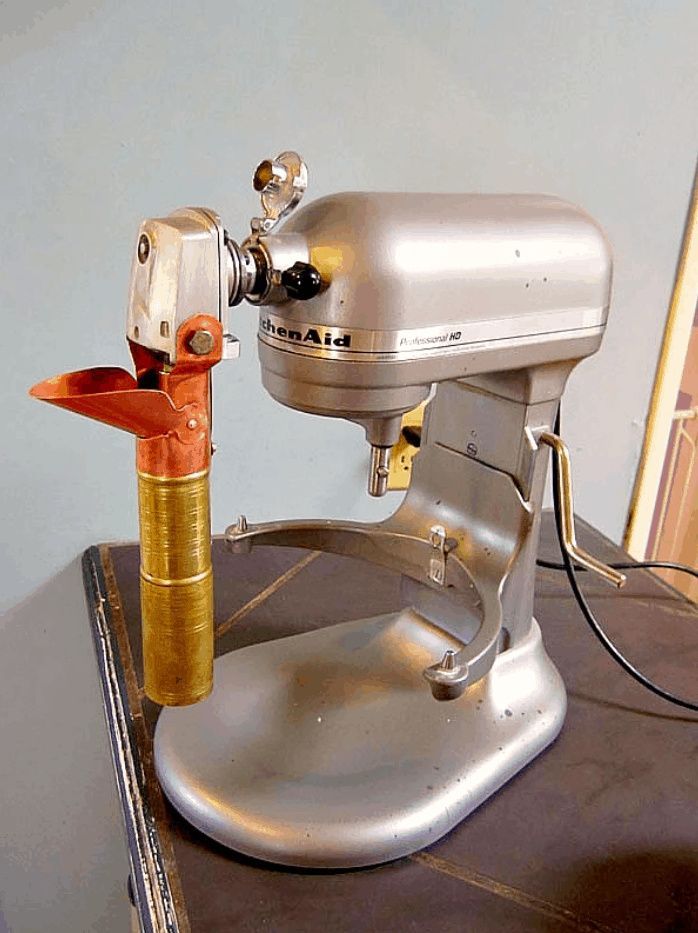
Salvage yards and thrift stores can be treasure troves for DIY enthusiasts. You may find repurposed materials like old hand drills or mechanisms that can be incorporated into your grinder design.
C. Hardware Stores:
Hardware stores provide basic components like screws, bolts, bearings, and other construction materials needed to assemble your grinder.
VI. Assembly and Construction: Bringing Your Grinder to Life
With the components gathered, it’s time to bring your DIY coffee grinder to life. The specific assembly process will vary depending on your chosen design. However, some general steps apply:
A. Crafting the Housing:
Construct the housing from your chosen material, ensuring it provides a sturdy and secure enclosure for the grinding mechanism. Woodworking skills and tools may be necessary for crafting a wooden housing, while metal or plastic housings may require different fabrication techniques.
B. Installing the Grinding Mechanism:
Secure the burrs or blade in place within the housing, ensuring proper alignment and functionality. This may involve using bolts, screws, or adhesives depending on your design.
C. Implementing the Adjustment Mechanism:
Incorporate the adjustment mechanism to allow for precise control over the grind size. This could involve a simple screw system that adjusts the distance between the burrs in a burr grinder or a mechanism that controls the blade’s rotation in a blade grinder.
D. Attaching the Collecting Container:
Secure the collecting container to the bottom of the grinder housing. This ensures easy collection of the ground coffee after grinding.
VII. Calibration and Testing: Ensuring Optimal Performance
Once your grinder is assembled, it’s crucial to calibrate and test it for optimal performance.
A. Calibrating the Adjustment Mechanism:
Fine-tune the adjustment mechanism to ensure accurate grind size control. This may involve experimenting with different settings and grinding a small amount of coffee beans to assess the grind consistency.
B. Testing the Grinder with Various Coffee Beans:
Test the grinder with different types of coffee beans to evaluate the consistency and uniformity of the grind. Look for even-sized particles with minimal dust for optimal extraction.
C. Fine-tuning the Grinder:
Make adjustments to the grinding mechanism based on your testing results. This may involve further calibration of the adjustment mechanism or refining the burr alignment in a burr grinder.
VIII. Safety Considerations: Prioritizing Well-being
Safety is paramount when working on any DIY project, and building your coffee grinder is no exception.
A. Working with Power Tools:
If your grinder design incorporates power tools, follow safety guidelines and wear appropriate protective gear such as safety glasses and gloves.
B. Handling Sharp Components:
Burrs and blades are sharp and can cause injury. Exercise caution when handling these components during assembly and refrain from reaching into the grinding mechanism while it’s in operation.
C. Electrical Safety:
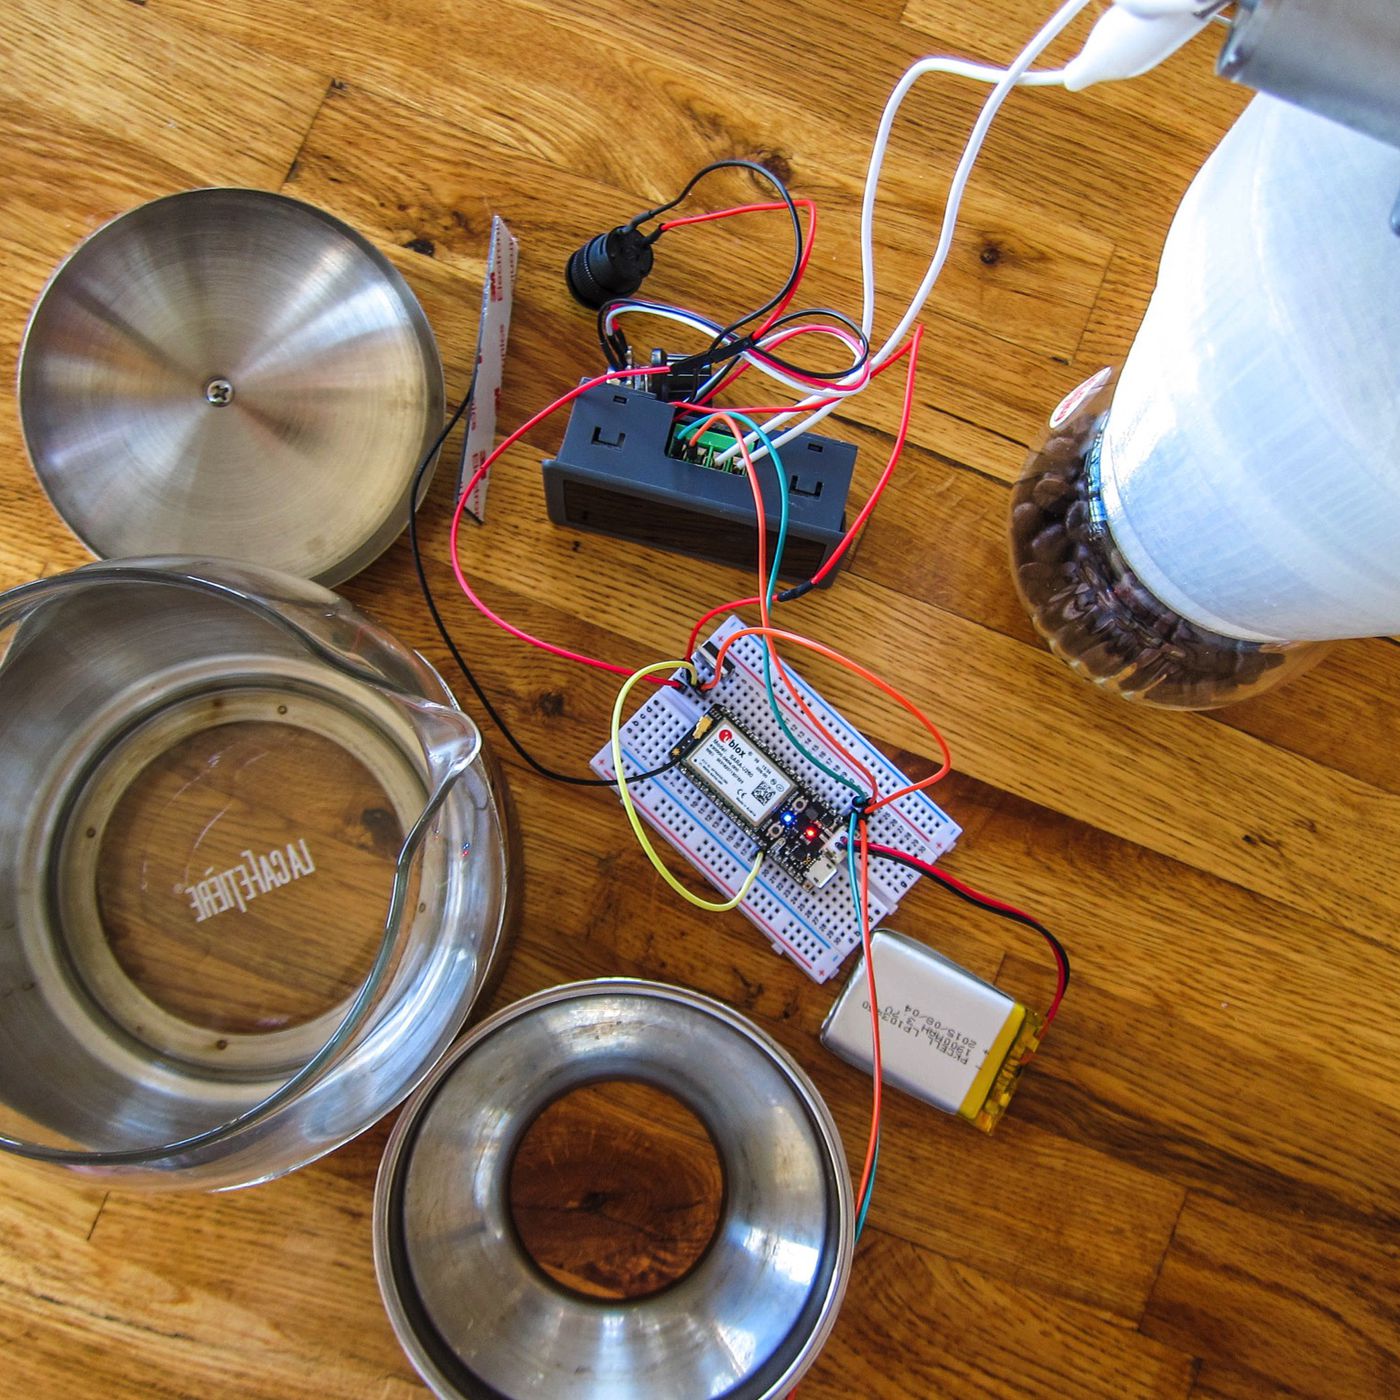
For electric grinders, ensure proper wiring and connections are made to prevent electrical hazards. If your electrical expertise is limited, consider seeking help from a qualified electrician.
IX. Customization and Aesthetics: Enhancing Your Creation
While functionality is crucial, your DIY coffee grinder can also reflect your personality and style.
A. Personalizing the Appearance:
Add decorative elements to the housing, such as wood burning, paint, or engravings. This allows you to personalize the grinder and create a visually appealing piece that complements your kitchen.
B. Enhancing Functionality:
Consider incorporating additional features like a timer for consistent grinding time or a light to illuminate the grinding area for better control.
C. Creating a Unique Design:
Let your creativity flow! You’re not limited to traditional grinder designs. Research online for inspiration and create a unique and functional grinder that reflects your individuality.
X. Maintaining Your Grinder: Ensuring Long-lasting Performance
Proper maintenance will ensure your DIY coffee grinder provides years of service.
A. Regular Cleaning:
Clean the grinder regularly to remove coffee residue and debris that can affect grind consistency and flavor. This may involve brushing the grinding mechanism and wiping down the housing.
B. Lubricating Moving Parts:
If your grinder incorporates moving parts, use food-grade lubricant to ensure smooth operation and prevent wear and tear.
C. Storing Properly:
When not in use, store your grinder in a cool, dry place to prevent moisture damage and dust accumulation.
XI. Conclusion: The Rewards of DIY Coffee Grinding
Building your own coffee grinder is a rewarding experience that offers several benefits. It fosters a deeper appreciation for the coffee-making process, allows for precise control over grind size, and ultimately results in a unique and functional tool for crafting the perfect cup of coffee. So, gather your tools, unleash your creativity, and embark on your DIY coffee grinder journey!