Introduction to KitchenAid Coffee Grinder
The KitchenAid coffee grinder is a staple for coffee enthusiasts. It’s prized for its durability, elegant design, and precision. With varied settings, you can grind beans to your liking. Whether you prefer a coarse grind for French press or a fine espresso powder, this grinder meets your needs. Understanding your KitchenAid grinder’s settings is key to getting great-tasting coffee.
When you start experimenting with your KitchenAid coffee grinder, remember that settings can greatly influence your brew. The right grind unlocks the beans’ full potential. It ensures the best extraction of flavor and aroma. This intro serves to guide you through the process. We’ll talk about different grind types, how to adjust settings, and getting consistent results.
In the following sections, you’ll learn not just how to use the KitchenAid coffee grinder settings. You’ll also get tips for cleaning, maintenance, and troubleshooting. With this knowledge, you’ll refine your grinding technique. This will take your home coffee brewing to the next level. Grab your favorite beans, and let’s dive into the world of precision grinding with KitchenAid.

Types of Coffee Grinds: From Coarse to Fine
Understanding the range of grinds your KitchenAid coffee grinder can produce is essential. Each grind size suits a different brewing method. This helps you tailor your coffee to your taste. Let’s look at the main types of grinds from coarse to fine.
Coarse Grind
A coarse grind resembles sea salt. It’s perfect for French press and cold brew. The large particles allow water to flow through slowly. This extracts the flavors gradually.
Medium-Coarse Grind
Medium-coarse grind is chunkier than sand but less so than coarse grind. It works well for cafe solo and chemex brewing.
Medium Grind
Medium grinds look like regular sand. Ideal for drip coffee makers and some pour-over methods. It balances extraction speed with flavor release.
Medium-Fine Grind
Medium-fine grind has a finer texture. It’s preferred for pour-over cones and some espresso machines. It balances flow and flavor concentration.
Fine Grind
Fine grind is as fine as table salt. It suits espresso machines. The fine particles create the pressure needed for proper extraction.
Extra Fine Grind
Extra fine grind is a powder-like consistency. It’s used for Turkish coffee. The dust-like particles extract quickly, making a strong brew.
Your KitchenAid coffee grinder settings help create these distinct grinds. Experiment with them to enhance your coffee experience. Slight changes can make big flavor differences. Find your preferred texture and dive into a world of rich coffee flavors.
Exploring KitchenAid Coffee Grinder Models
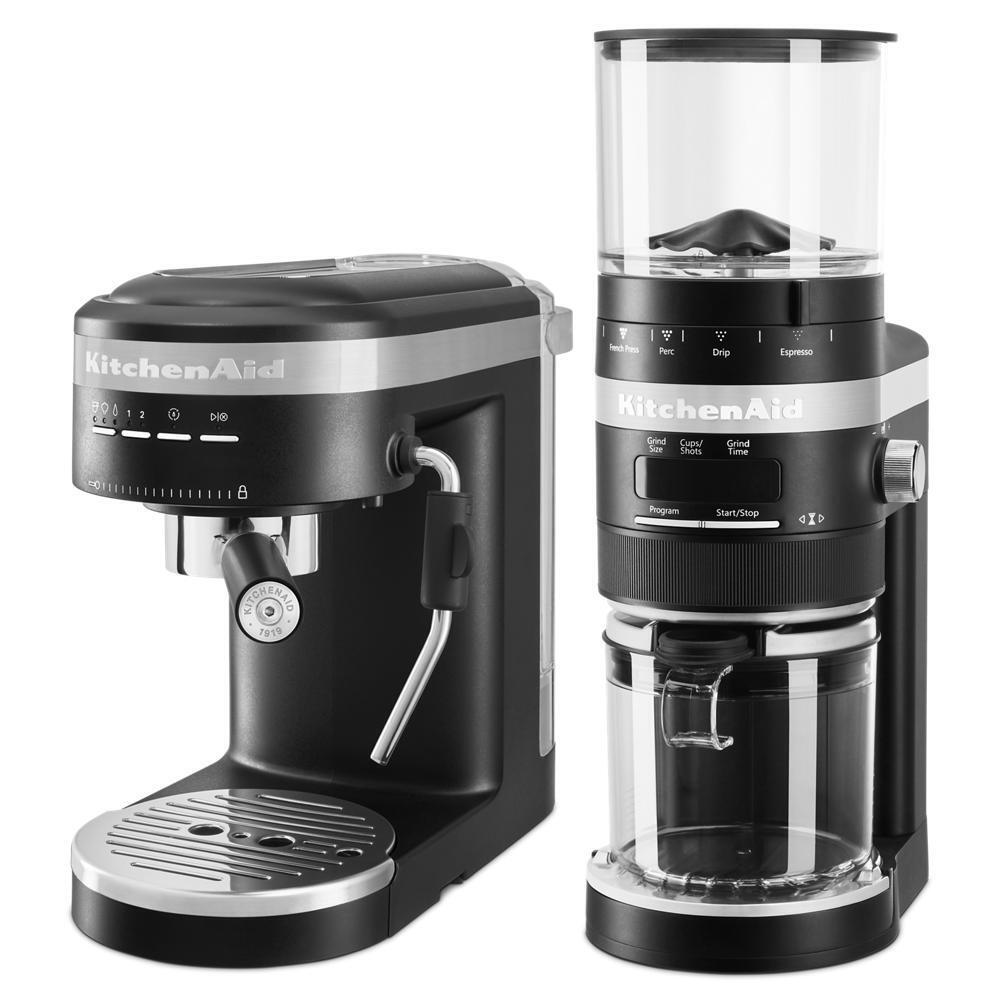
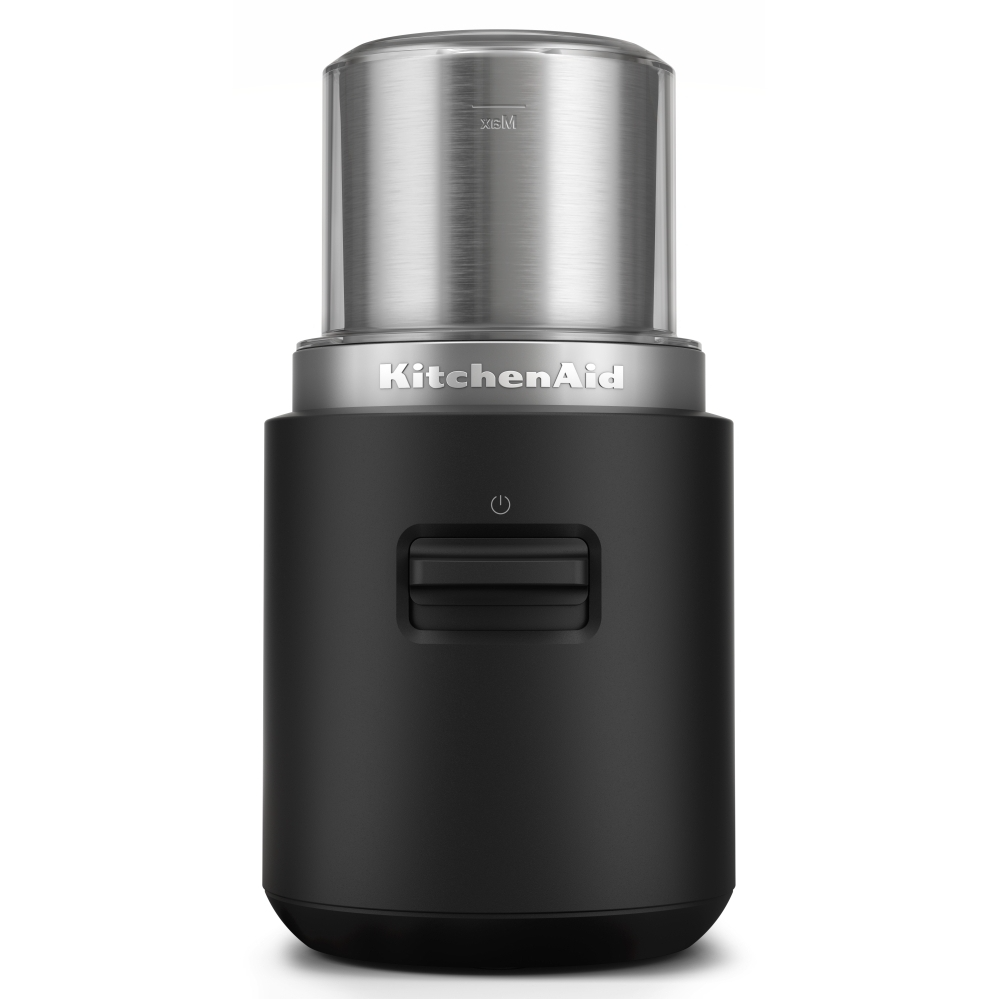
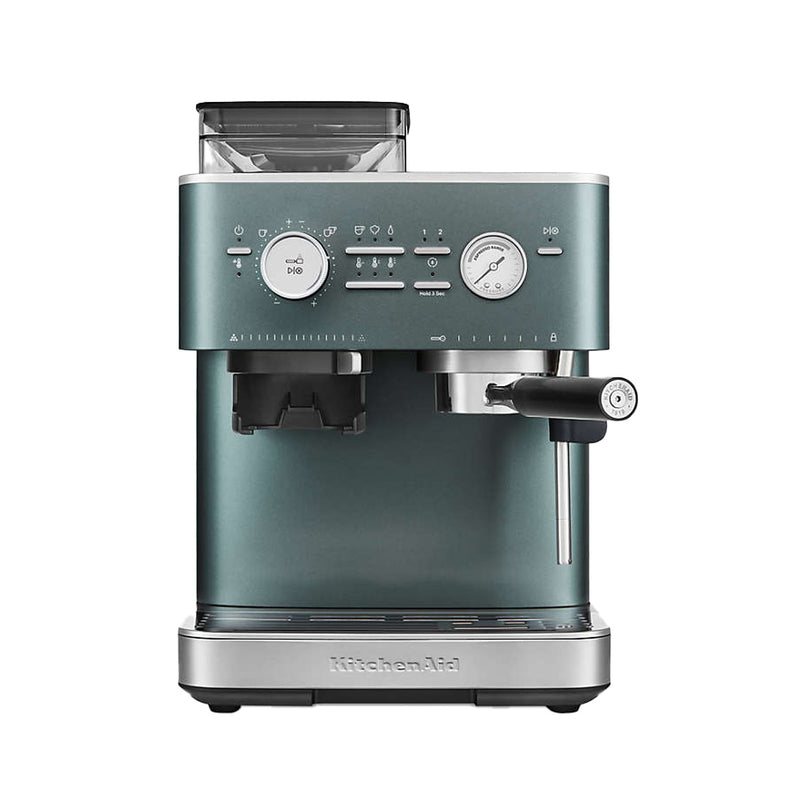
KitchenAid offers a variety of coffee grinder models, each designed to suit different preferences and brewing routines. While exploring the range of grinders, you will find options from entry-level to more advanced models.
Entry-Level Grinders
The entry-level models are great for beginners. They are user-friendly with basic KitchenAid coffee grinder settings. These provide a good starting point for those new to grinding their own beans.
Mid-Range Grinders
For an average coffee drinker, mid-range grinders offer more features. They often have extra settings for better precision in grind size. This makes them versatile for different brew methods.
Professional-Grade Grinders
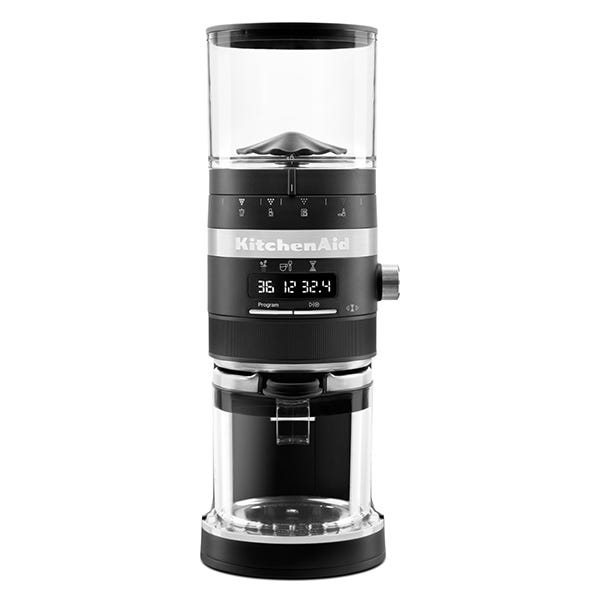
Professional-grade models cater to the coffee aficionado. They boast high-quality burrs for a consistent grind, and precise kitchenaid coffee grinder settings. Some have digital displays for even finer control.
No matter your choice, each KitchenAid coffee grinder is built with quality in mind. They ensure that you can achieve the perfect grind for your coffee, every time. Remember to experiment with the settings on your model to find your ideal grind size.

Step-by-Step Guide to Adjusting Grind Settings
Adjusting the grind settings on your KitchenAid coffee grinder is simple. Here’s how to do it step by step to ensure you get the best results.
- Turn off and unplug the grinder. Safety first. Always make sure the device is off and unplugged.
- Access the grind adjustment knob. Depending on your model, this could be on the side or front.
- Choose your desired grind size. Turn the knob left or right. Turn left for a coarser grind. Turn right for a finer grind.
- Test the setting. Grind a small amount of coffee to check the size. Adjust if needed.
- Repeat as necessary. Keep adjusting until you reach your preferred consistency.
By following these steps, you can easily find the best KitchenAid coffee grinder settings for any coffee type. Experiment with different sizes to enhance your coffee experience.
The Impact of Grind Size on Coffee Flavor
The size of your coffee grind affects the taste. Fine grinds bring out rich, bold flavors. They let water pass slowly and extract more. But they can also make coffee bitter if water stays too long. Coarse grinds do the opposite. They make a milder cup, as water flows through fast, grabbing less flavor.
The Science Behind Grind Size and Extraction
With fine grinds, the surface area is high. So, water can extract flavors and oils well. That’s why espressos use fine grinds. But, if the grind is too fine, it can over-extract. This leads to bitterness. Coarse grinds offer less surface area. So, extraction is slower and gentler. This is ideal for brewing methods like French press.
Balancing Grind Size and Brewing Time
For the best flavor, match the grind size with brewing time. Fine grinds work well with quick extractions. Coarse grinds need more time to show their full flavor. Use your KitchenAid coffee grinder settings to play with this balance. Find what tastes best to you.
Grind Size and Coffee Strength
A fine grind can make your coffee stronger. More particles come in contact with water, so it pulls more flavor. A coarse grind usually leads to a lighter taste. It’s less intense because the water touches fewer coffee particles.
Choose the right grind size for your taste and brewing method. This lets you control the flavor strength. Your KitchenAid coffee grinder has settings to help with this. Each tweak changes how your coffee will taste. So, experimenting is key to mastering your perfect cup.
Cleaning and Maintenance Tips for Your Grinder
Keeping your KitchenAid coffee grinder in top shape is vital for the best coffee. Here are some easy tips for cleaning and maintenance.
Daily Maintenance Routine
After each use, give the grinder a quick clean. Brush out the grounds from the burrs and chute. Use a small, soft brush designed for coffee grinders. This helps prevent old grounds from mixing with fresh ones.
Deep Cleaning Process
Once a week, unplug the grinder and remove any detachable parts. Wash them with warm, soapy water. Dry thoroughly before reassembling. For parts you can’t wash, use a dry brush. Clean the hopper with a damp cloth, and wipe down the body of the grinder.
Keeping Burrs Sharp and Efficient
The burrs are the heart of your grinder. Check them every few months for wear. Replace them if they’re dull. Sharper burrs mean more consistent grinds.
Storing Your Grinder Properly
When not in use, store the grinder in a dry place. This prevents any moisture from damaging the machine.
Handling Jamming Issues
If your grinder jams, turn it off and unplug it. Use the brush to clear any blockage. Never use metal objects inside the burrs.
By following these KitchenAid coffee grinder settings and maintenance tips, you’ll extend your grinder’s life. Plus, you’ll enjoy better tasting coffee each time.

Troubleshooting Common Issues with KitchenAid Coffee Grinders
Sometimes, you may face challenges with your KitchenAid coffee grinder. A few troubleshooting tips can help you resolve common issues quickly.
Grinder Not Starting
If your grinder won’t start, check first that it’s plugged in. Next, ensure the lid is properly secured. Many models have safety features that prevent them from operating if not properly assembled.
Inconsistent Grind Sizes
Inconsistent grinds often mean dull burrs. If your coffee particles are of varying sizes, it might be time to replace the burrs. Also, make sure the grinder is clean, as old grounds can affect performance.
Grinder Stops Working Mid-Cycle
Should your grinder stop mid-grind, it might be overheating. Give it a rest to cool down before trying again. Overfilling the hopper can also cause stops, so check if reducing the bean amount helps.
Odd Noises From the Grinder
Strange sounds could indicate a foreign object in the burrs. Turn off the grinder and inspect it for stones or other debris. Always check your beans before grinding to avoid this problem.
By handling these common problems, you can keep your KitchenAid coffee grinder settings producing the perfect grind. Remember, maintenance is key to prevent most issues. Keep the grinder clean and burrs sharp for the best results. This way, your coffee grinder will serve you well for many brews to come.
Conclusion: Getting the Most Out of Your Grinder
Mastering your KitchenAid coffee grinder is essential for superb coffee. Understand the grinder settings. Always start with clean equipment. Experiment with grind sizes for different brews. Match the grind size with the brewing method for best results. Regularly check and replace the burrs for consistency. Use these tips to make the most out of your KitchenAid grinder. With patience and practice, you’ll brew coffee like a pro!
