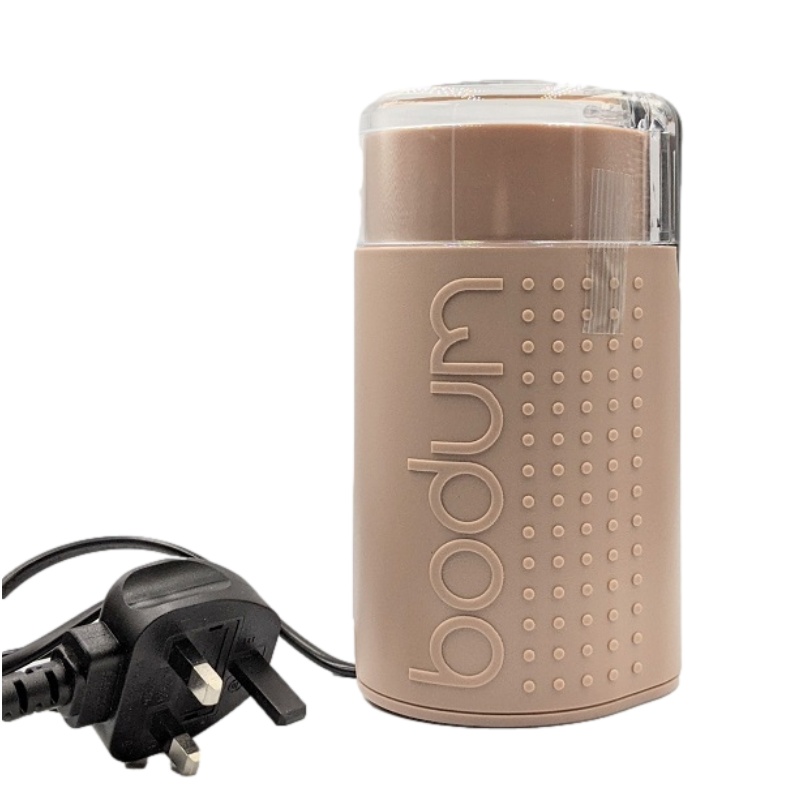
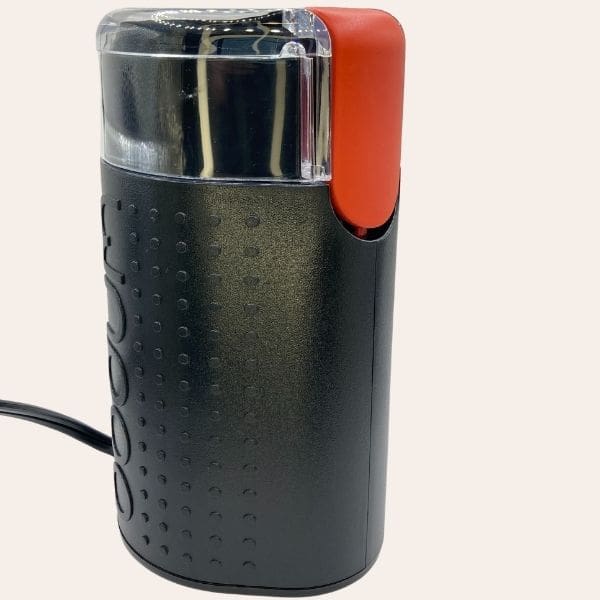
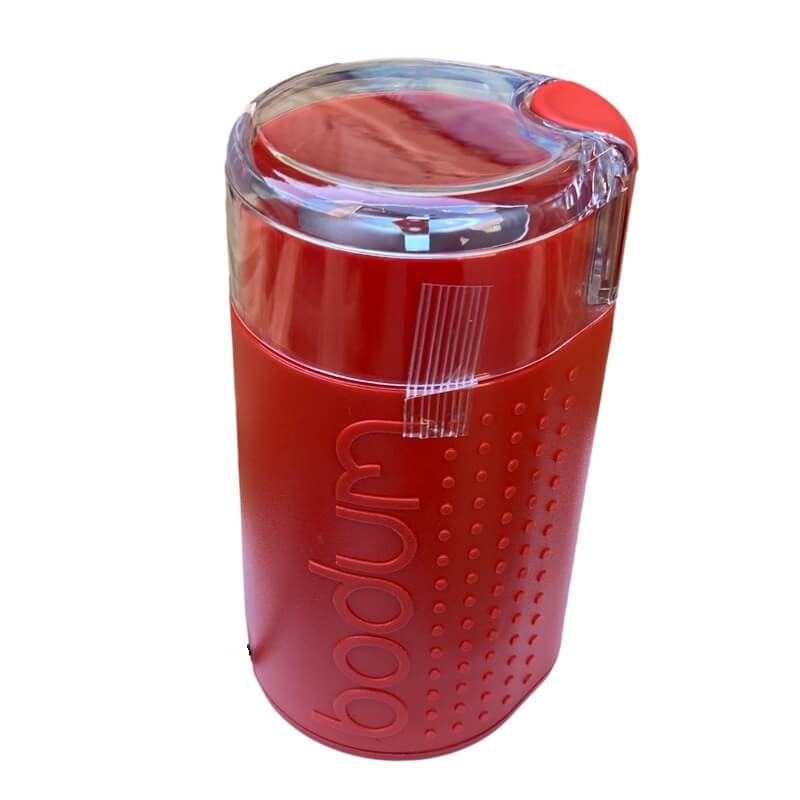
Introduction to Common Bodum Coffee Grinder Problems
Bodum coffee grinders are a popular choice for coffee aficionados seeking a reliable, affordable option. Despite their popularity, these grinders, like all appliances, can encounter issues that affect their performance. Understanding the common problems can help you troubleshoot effectively when your Bodum coffee grinder is not working.
Common issues that may arise with Bodum grinders include:
- Grinding inconsistencies: This includes uneven grinds, or a grinder failing to produce any grounds at all.
- Noise during operation: A normally quiet grinder making unexpected sounds can signal internal problems.
- Power issues: Your grinder may fail to turn on due to electrical problems.
- Blockages and buildup: Overtime, coffee residue can clog your grinder, causing it to malfunction.
These problems can stem from a variety of causes, such as worn-out parts, accumulation of coffee oils and particles, or even manufacturer defects. More often than not, some of these issues can be addressed with simple fixes that don’t require professional help. The next sections of this blog will guide you through the signs to watch for, how to diagnose the specific issues, and steps for a do-it-yourself repair.

Signs Your Bodum Grinder May Need Repair
Recognizing the signs that your Bodum coffee grinder may need repair is key. Here are the indicators to watch out for:
- Refusal to Start: Pressing the power button yields no action. Not a sound or a movement.
- Strange Noises: Grinding comes with clacking, clicking, or grinding noises that weren’t there before.
- Stuck Buttons: Controls that are unresponsive or sticky can signal an internal issue.
- Inconsistent Grinds: If your coffee is too coarse, too fine, or uneven, the grinder may need attention.
- Unusual Smells: An odor of burning or electrical fumes is always a cause for concern.
- Overheating: The grinder gets too hot during use, more than normal.
- Visible Damage: Check for broken parts or something that looks out of place.
When you notice any of these issues with your Bodum coffee grinder not working correctly, it might be time for a fix. Some problems could be simple to address, while others might indicate serious damage. In the next section, we will explore how to take your grinder apart and diagnose the issue.
Step-by-Step Guide to Disassembling Your Grinder
When your Bodum coffee grinder stops working, don’t rush to replace it. Instead, you might be able to fix it yourself by disassembling and diagnosing the issue at home. Here’s a simple guide to take apart your Bodum coffee grinder.
- Unplug your grinder: Safety first – ensure the grinder is not connected to any power source.
- Remove the outer cover: There are four screws at the base, two of which are hidden under the rubber feet. Unscrew these to open the cover.
- Detach the control board: Carefully disconnect wires that attach the control board to the motor—and keep an eye on the small parts.
- Extract the main assembly: Unfasten the three screws that hold the main assembly onto the base and gently lift it off.
- Access the motor and gears: Sold separately are screws that keep the motor in place. Undo these to get to the gears.
- Inspect the gears: Look for the clutch plate and ball bearings—any signs of wear here could be the problem.
Make sure you organize the components as you disassemble them. Small parts can get lost or forgotten during reassembly otherwise. Keeping a clear workspace and taking notes or photos as you work can help you remember where each part fits when putting the grinder back together.
By following these steps, you should be able to identify if the issue with your grinder is due to the clutch plate, as mentioned in the retrieved blog, or another problem. With the grinder disassembled, move to the next step—identifying the cause of the malfunction.

Identifying the Cause of the Malfunction
Once you have your Bodum coffee grinder disassembled, it’s time to identify the malfunction. This step is crucial. A correct diagnosis can save time and money. Here are common causes to check:
- Worn Clutch Plate: As the reference blog described, a worn clutch plate could cause your grinder to stop working.
- Stripped Gears: Plastic gears may strip under stress and cease to function properly.
- Electrical Failures: Check wires and connectors for any signs of damage or loose connections.
- Blockages: Coffee residue can build up, preventing the grinder parts from moving freely.
For each potential issue, conduct a visual and physical inspection. Feel the gears for resistance or irregularities. Look for any signs of wear or damage, like the dents mentioned in the clutch plate. Check electrical components for any discoloration or burnt smell which indicates overheating.
If the gears are in good shape and the electrical parts show no sign of failure, and there are no blockages, the clutch plate malfunction described in the reference blog might be the culprit. This is especially true if you find the ball bearings and metal plate are not engaging as they should. Remember, a grinder that still makes noise but won’t grind coffee typically signals a problem with the burr gear or clutch plate.
In summary, careful inspection of the grinder’s internal parts can often reveal the root of the problem. With the cause identified, you can proceed to the next steps to fix your Bodum coffee grinder not working.
The Clutch Plate Fix: A Simple Solution
Sometimes, a simple flip is all it takes to fix your Bodum coffee grinder. The clutch plate, usually the heart of the issue, can cause the grinder to stop working efficiently. If worn out or dented, this plate stops the ball bearings from functioning properly, leading to grinding issues. Amazingly, the solution can be quite straightforward.
Here’s how you can perform the clutch plate fix:
- Find the clutch plate: Look inside the gear area you’ve uncovered. You’ll see the clutch plate.
- Inspect for wear: Check if there are dents from the ball bearings on one side.
- Flip the plate: Carefully turn the worn-out clutch plate over to its unworn side.
- Realign everything: Put the ball bearings back in position and ensure they move freely.
By flipping the clutch plate, you give your grinder a new lease on life. This saves you the expense and hassle of purchasing a new unit or hunting down hard-to-find parts. Moreover, this simple fix could extend the life of your grinder significantly, ensuring your coffee remains consistently ground for many more mornings to come.
In summary, the clutch plate fix is an effective and economical solution for a Bodum coffee grinder not working due to clutch plate wear. It requires some patience and finesse, but it is a process within reach for most DIY enthusiasts.

Reassembling Your Bodum Grinder Correctly
After diagnosing and fixing the clutch plate issue, it’s time to put your Bodum coffee grinder back together. This step is just as important as the disassembly and repair process. Proper reassembly will ensure that your grinder operates smoothly and continues to produce the perfect grind for your coffee. Here’s how you can reassemble your grinder correctly:
- Position the Clutch Plate: Start by placing the flipped clutch plate back in its spot. Ensure it’s seated properly.
- Reinsert Ball Bearings: Put the ball bearings back into their springs. Check they move unobstructed.
- Reattach the Gear Assembly: Carefully line up the gear assembly with the motor and screw it back in place.
- Connect the Motor: Align the motor and secure it with the screws you removed earlier.
- Reposition the Main Assembly: Place the main assembly back onto its post and secure it with screws.
- Reconnect Wires: Make sure all wires are connected to their respective places on the control board.
- Reattach the Control Board: Position the control board and fasten it. Don’t forget the potentiometer nut and washer.
- Replace the Cover: Slide the cover on, guiding wires so they don’t pinch, and screw it shut.
- Test Your Grinder: Before using it to make coffee, run it empty to check the repair worked.
By closely following these steps, you’re ensuring that your Bodum coffee grinder is well assembled. This meticulous approach will pay off with a fully functional grinder ready for your next brew. If any issues arise during reassembly, refer back to your notes or the disassembly photos you might have taken. Remember to keep your workspace organized, handling each part with care. And finally, once everything seems to be in place, give your Bodum coffee grinder not working a quick test run without coffee beans to ensure everything is running as it should. With these steps, you’ll be back to enjoying freshly ground coffee in no time.
Tips for Maintaining Your Coffee Grinder
Maintaining your Bodum coffee grinder is key to its longevity and performance. Here are actionable tips to keep it in top condition:
- Clean Regularly: Remove coffee residue after each use. This prevents buildup and ensures consistent grinds.
- Check for Wear: Inspect your grinder periodically for signs of wear, particularly on the burrs and the clutch plate.
- Avoid Moisture: Keep your grinder dry. Humidity and liquids can cause rust and electrical issues.
- Use Correct Beans: Stick to coffee beans suited for your grinder. Very hard beans can strain the motor and gears.
- Don’t Overfill: Never exceed the bean hopper’s capacity. Overloading can stress the grinder’s components.
- Handle with Care: Operate the grinder gently. Rough handling can dislodge or damage internal parts.
Respect these simple maintenance rules, and your Bodum coffee grinder not working issues will be less likely. Regular care extends your grinder’s life and helps in a better coffee experience each day. For the best performance, stay proactive about maintenance, and be gentle with your grinder.
When to Consider a Professional Repair or Replacement
It’s not always easy or possible to fix your Bodum coffee grinder at home. Here are situations when you should consider professional help or a full replacement:
- Extensive Damage: If the grinder has multiple broken parts, a pro can assess if it’s worth repairing.
- Warranty Coverage: Check if your grinder is still under warranty. Manufacturers might repair or replace it for free.
- Electrical Issues: For any complex wiring or motor problems, seek an expert to avoid safety risks.
- No Fix Success: If after trying to fix, the grinder still isn’t working, it might be time to call in a professional or look for a new grinder.
- Cost of Repairs: Sometimes it may cost more to repair than to buy a new one. Compare costs before deciding.
- Outdated Model: If your grinder is old, parts might be scarce. Upgrading to a new model could be more economical.
When the DIY approach fails to solve your Bodum coffee grinder not working, don’t hesitate to contact a repair service or consider investing in a new coffee grinder.
