I. Introduction: Embracing the Simplicity of Homemade Bread
A. The Allure of Homemade Bread: A Culinary Masterpiece
The aroma of freshly baked bread is a sensory experience unlike any other. From the golden crust yielding to a soft, warm interior, homemade bread possesses a unique charm that surpasses store-bought loaves. It’s a culinary masterpiece, a testament to tradition, and a source of immense satisfaction. Every bite evokes memories of home, comfort, and the joy of creating something delicious from scratch.
B. The Bread Maker’s Promise: Effortless Bread Baking for Everyone
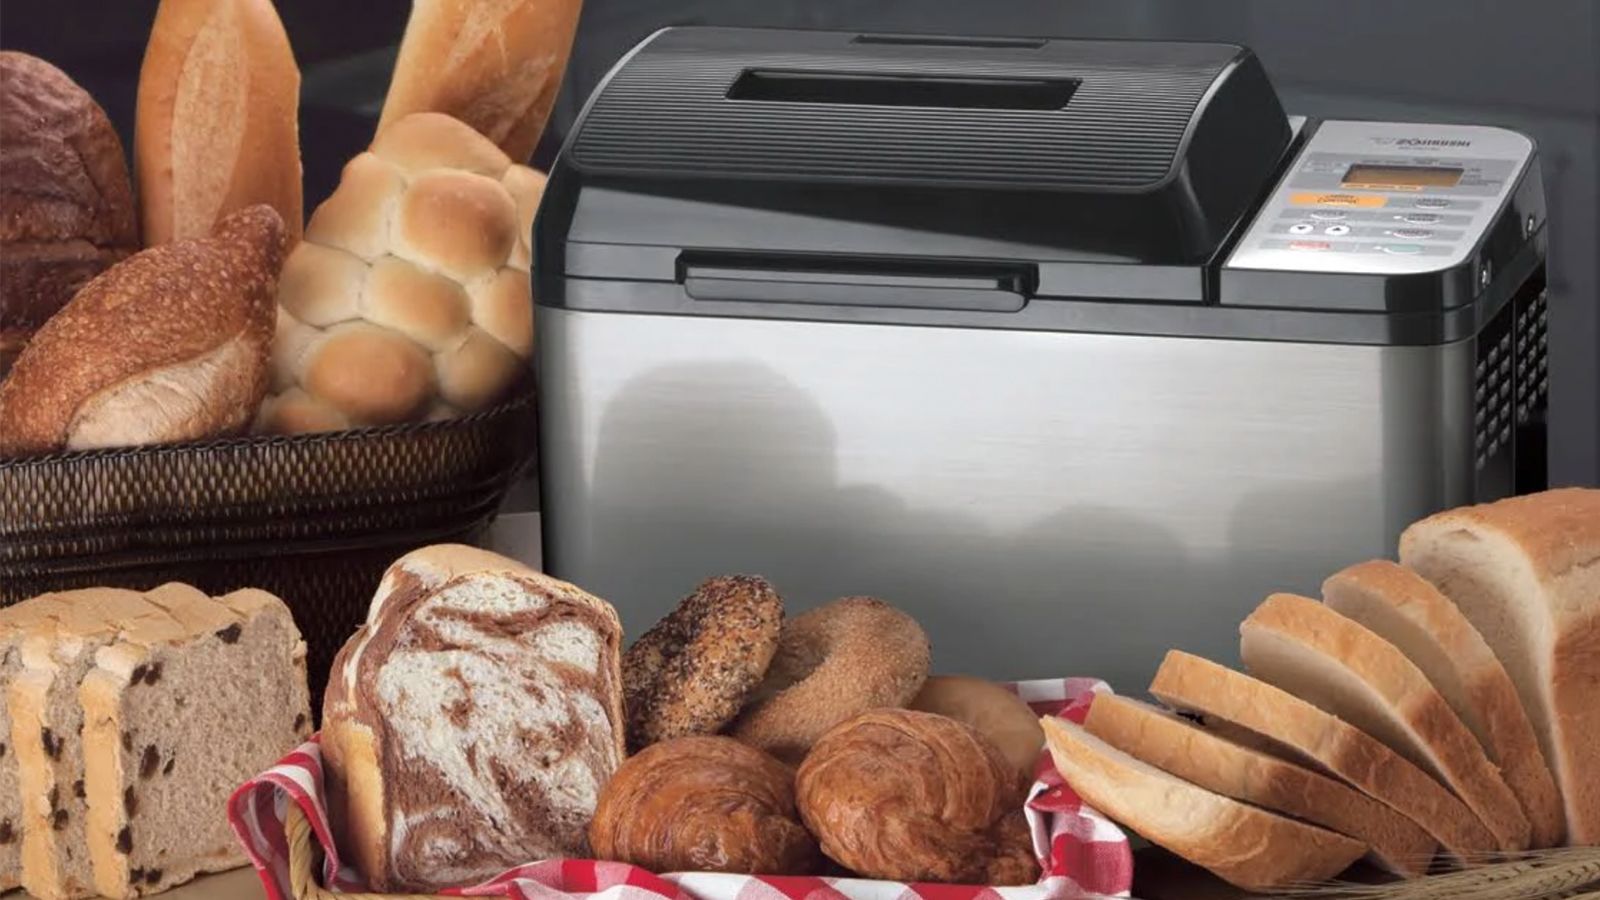
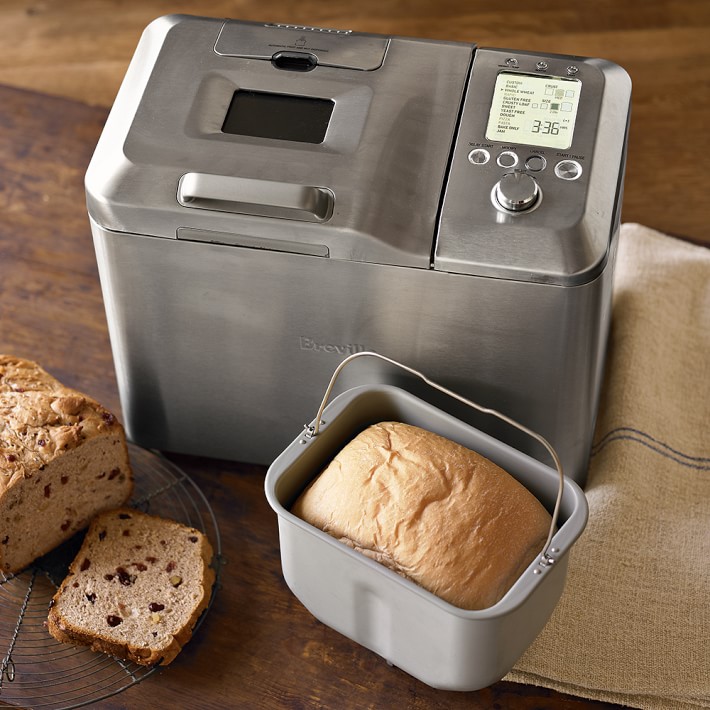
Bread machines have revolutionized the art of breadmaking. They transform this once-time-consuming process into a simple and enjoyable experience. These versatile appliances take care of the entire bread-making journey – mixing, kneading, rising, and baking – allowing even novice bakers to produce delectable loaves with minimal effort.

II. Inside the Bread Machine: A Look at the Magic
A. The Mixing Stage: Combining Ingredients into a Homogeneous Dough
The bread machine‘s journey begins with the mixing stage. Users add the necessary ingredients, typically flour, water, yeast, salt, and sometimes other flavorings or enhancers, to the appliance’s baking pan. A rotating paddle or hook then takes over, combining the ingredients into a cohesive dough.
B. The Kneading Process: Developing Gluten for a Springy Texture
After the initial mixing, the bread machine embarks on the crucial kneading phase. This process mimics the traditional hand-kneading method, developing the gluten network within the dough. Gluten, a protein complex, forms elastic strands that give bread its structure and allow it to rise properly. The bread machine’s kneading mechanism ensures that the dough is adequately developed, resulting in a springy and elastic texture.
C. The Rising Stage: Allowing Yeast to Work Its Magic
Once kneaded, the bread machine enters the rising stage. During this time, the yeast, a microscopic fungus, feasts on the sugars in the flour. As a byproduct, it produces carbon dioxide gas, which becomes trapped within the gluten network. This trapped gas causes the dough to expand and rise. The bread maker maintains an optimal temperature and humidity environment to ensure proper yeast activity and a consistent rise.
D. The Baking Phase: Transforming Dough into a Golden Loaf
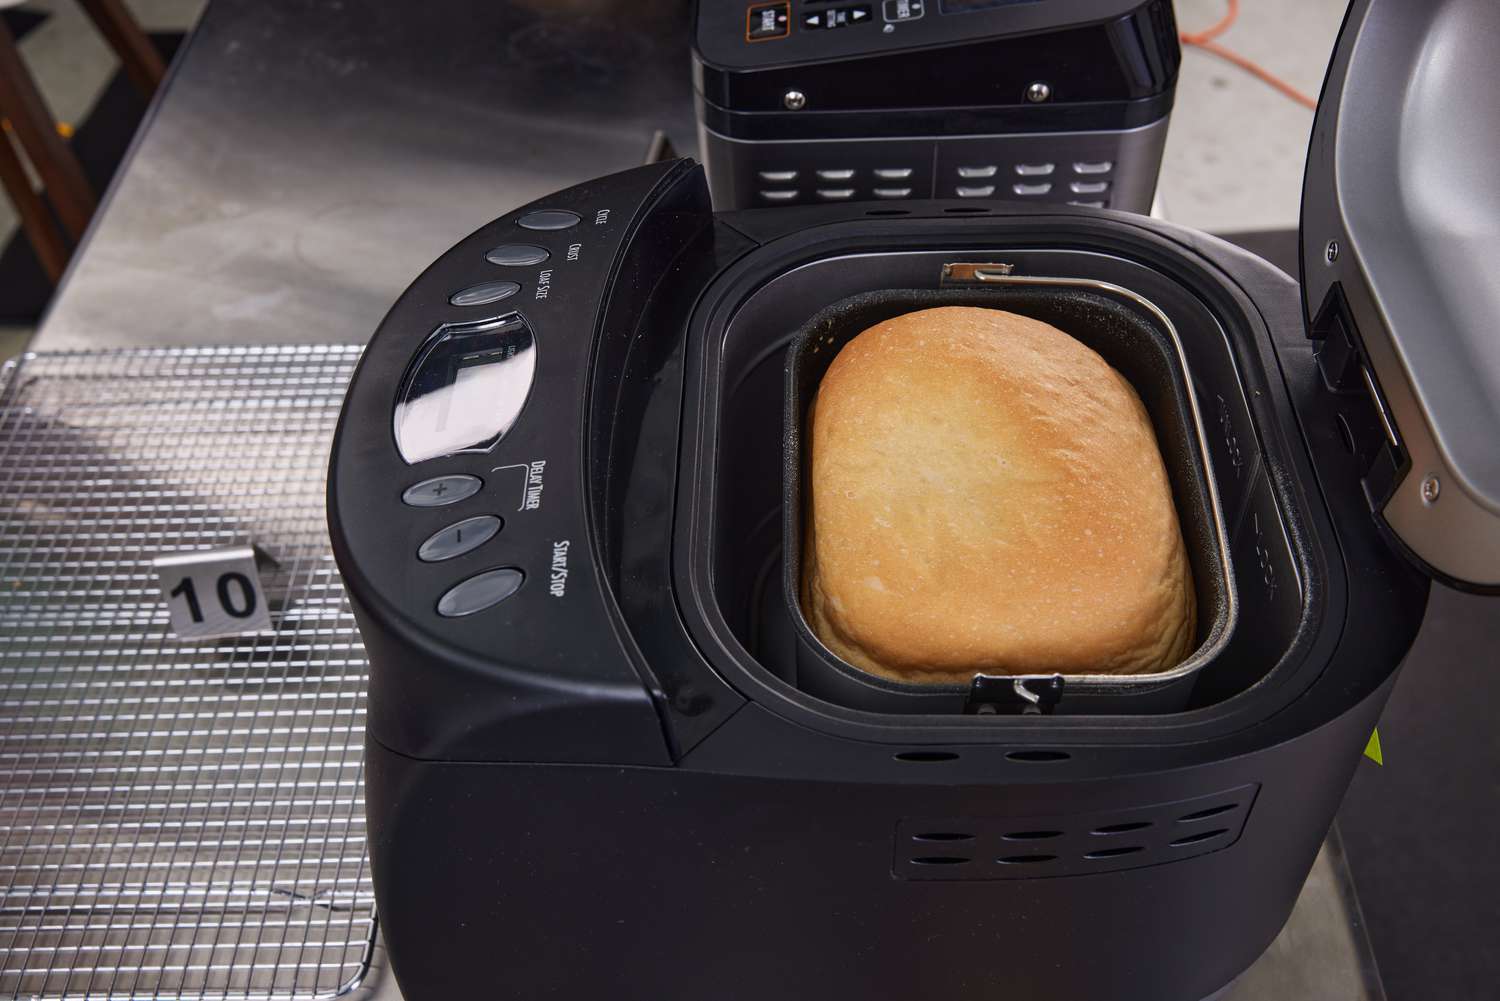
As the dough reaches its peak volume, the bread machine transitions into the baking phase. The internal heating element raises the temperature within the baking pan, transforming the risen dough into a golden brown loaf. The controlled heat distribution ensures even baking, resulting in a perfectly cooked loaf with a crispy crust and a soft, fluffy interior.

III. Selecting the Ideal Bread Maker for Your Baking Needs
A. Capacity Considerations: Matching the Maker to Your Consumption
Bread makers come in various sizes, with capacities ranging from 1.5 pounds to 2.5 pounds or more. Consider your bread consumption habits when choosing a size. For smaller households or those who enjoy occasional baking, a 1.5-pound capacity model may suffice. For larger families or frequent bakers, a 2-pound or larger capacity will accommodate bigger loaves.
B. Programming Options: Versatility for Different Bread Types
Modern bread makers offer a variety of programming options, allowing you to create a wide range of breads beyond the classic white loaf. From hearty whole-wheat bread to sweet pastries and even pizza dough, the options are endless. Consider the types of bread you enjoy most when selecting a bread maker. Some models feature pre-programmed settings for specific bread types, while others allow for manual customization of ingredients, kneading times, and rising temperatures.
C. Additional Features: Enhancing Your Baking Experience
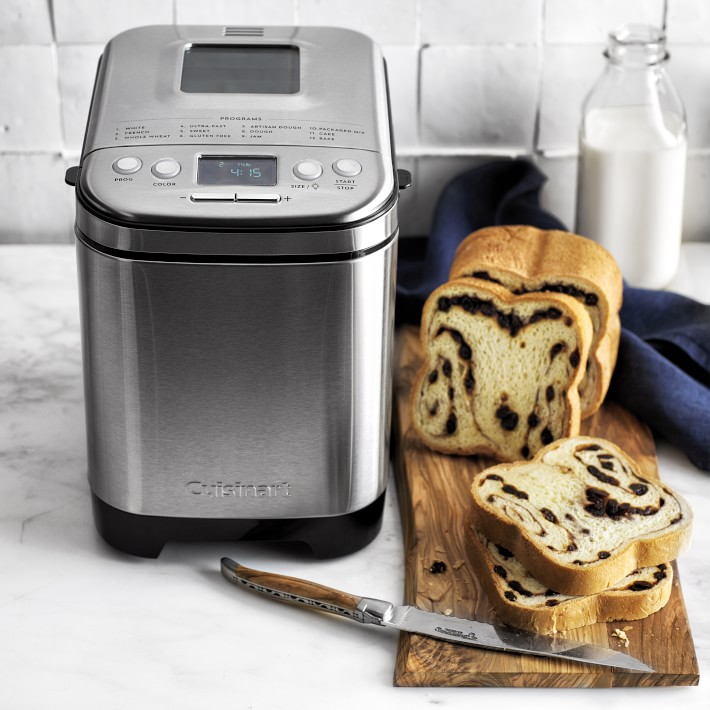
Some bread makers come equipped with additional features that can enhance your baking experience. Look for models with delay timers that allow you to set the baking process in advance, ensuring fresh bread upon waking up or returning home. Some models even feature crust control options, allowing you to customize the level of crustiness for your preference.

IV. Tips for Baking Success with Your Bread Maker
A. Using High-Quality Ingredients: The Foundation of Great Bread
The quality of your ingredients directly impacts the flavor and texture of your bread. Use fresh, high-quality flour, yeast, and other ingredients for optimal results. For flour, consider all-purpose flour or bread flour, which has a higher protein content and produces a chewier texture.
B. Measuring Precisely: Achieving the Right Balance
Accurate measurement of ingredients is crucial for successful breadmaking. Use measuring cups and spoons to ensure the correct proportions of flour, water, yeast, and other ingredients. Even slight variations can affect the outcome of your loaf. Consistency is key!
C. Maintaining a Clean Bread Maker: Ensuring Optimal Performance
Regularly clean your bread machine to prevent buildup of crumbs, dough residues, and other debris. This will not only maintain the appliance’s hygiene but also ensure optimal performance. After each use, wipe down the baking pan, kneading paddle, and lid with warm soapy water. For stubborn dough remnants, soak the pan in warm water for easier cleaning. Consult the manufacturer’s instructions for recommendations on deep cleaning the bread machine.
D. Experimenting with Recipes: Expanding Your Baking Horizons
Don’t be afraid to experiment with recipes beyond the basic white bread setting. Many bread machines come with recipe booklets or online resources offering a wide variety of options. Explore recipes for different types of bread, like sourdough, rye bread, or even fruit and nut loaves. The possibilities are endless!

V. Troubleshooting Common Bread Machine Issues
A. Dense or Heavy Bread: Identifying the Cause
If your bread turns out dense or heavy, there are a few potential culprits. One possibility is using too much flour. Double-check your measurements and ensure you haven’t accidentally added extra flour. Another possibility is using inactive yeast. Before using, test your yeast by mixing a small amount with warm water and sugar. If it doesn’t foam, it’s time to replace the yeast.
B. A Loaf That Didn’t Rise: Addressing the Problem
Sometimes, your bread may not rise properly. This can be caused by using cold water or an improper environment for rising. Ensure the water temperature is lukewarm (around 105°F) and the room temperature is warm (around 70°F to 80°F) for optimal yeast activity.
C. A Burnt Loaf: Adjusting Baking Settings
If your bread ends up burnt, it might be due to an overly high baking temperature or excessive baking time. Many bread machines allow you to adjust the crust control settings. Experiment with lighter crust settings or shorten the baking time slightly if needed.

VI. The Joy of Baking Bread: A Rewarding Experience
Baking bread with a bread machine is a rewarding experience for bakers of all skill levels. It allows you to enjoy the satisfaction of creating delicious homemade bread with minimal effort. From the delightful aroma filling your kitchen to the pleasure of savoring a warm slice straight out of the oven, bread making offers a unique and enjoyable activity.
Embrace the convenience of your bread machine, experiment with different recipes, and unlock the joy of baking your own bread. With a little practice and these helpful tips, you’ll be a master baker in no time!